|
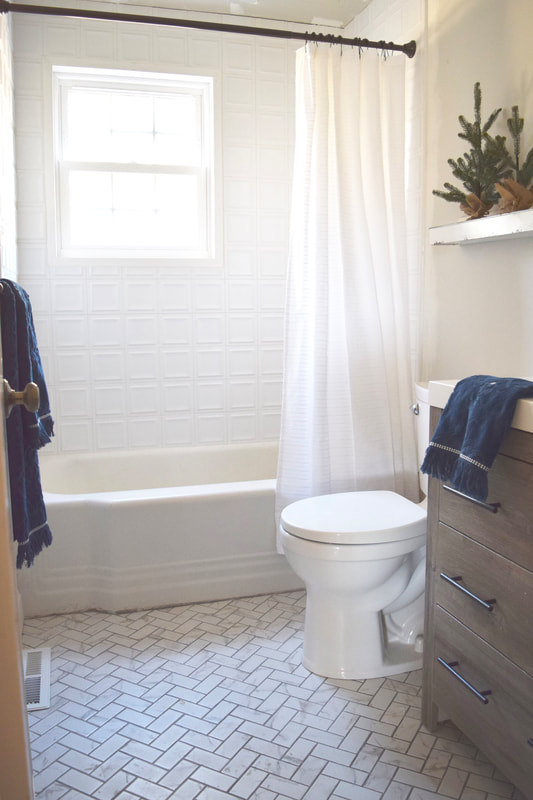
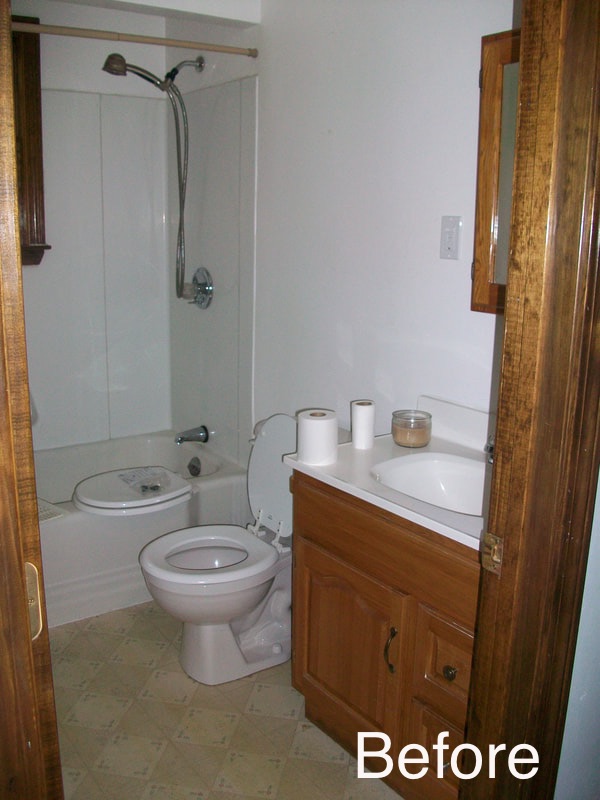
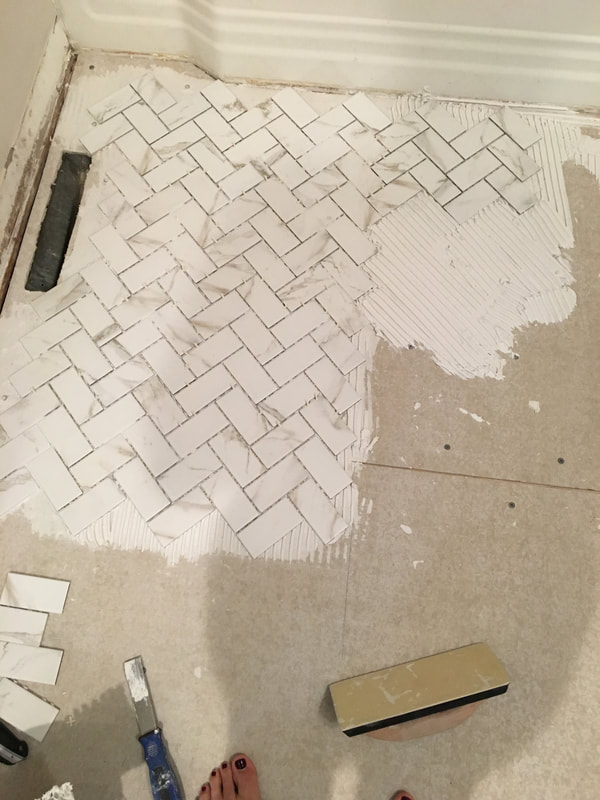
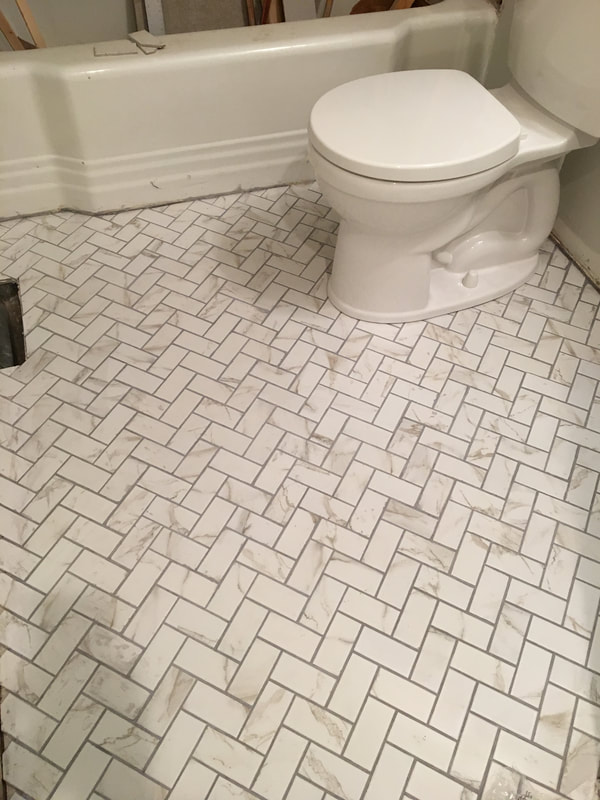
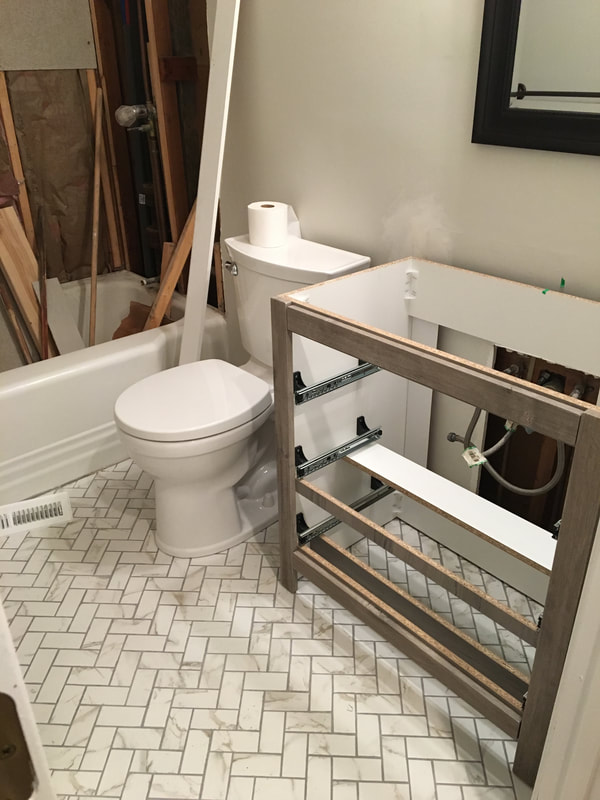
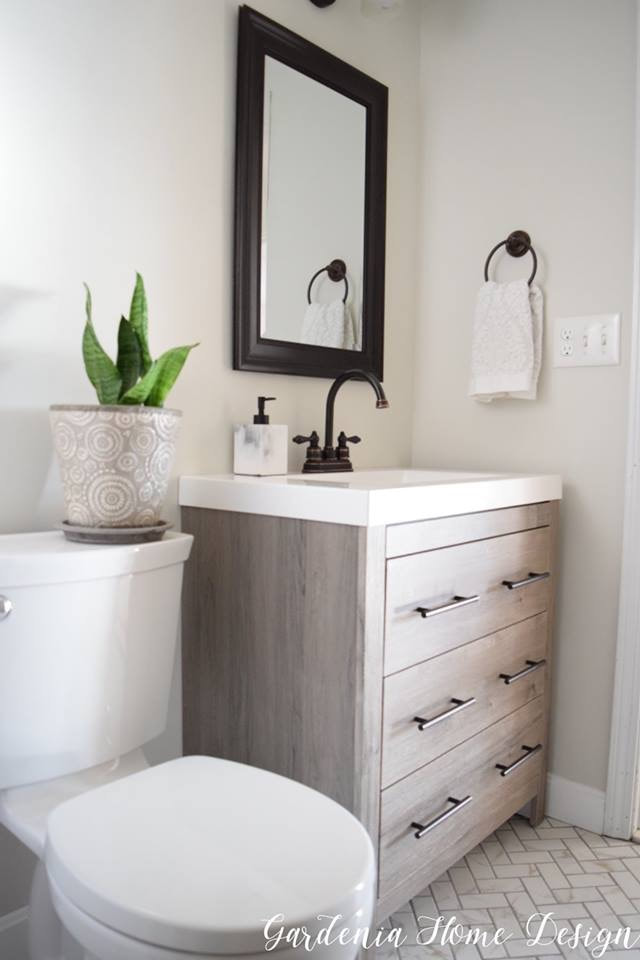
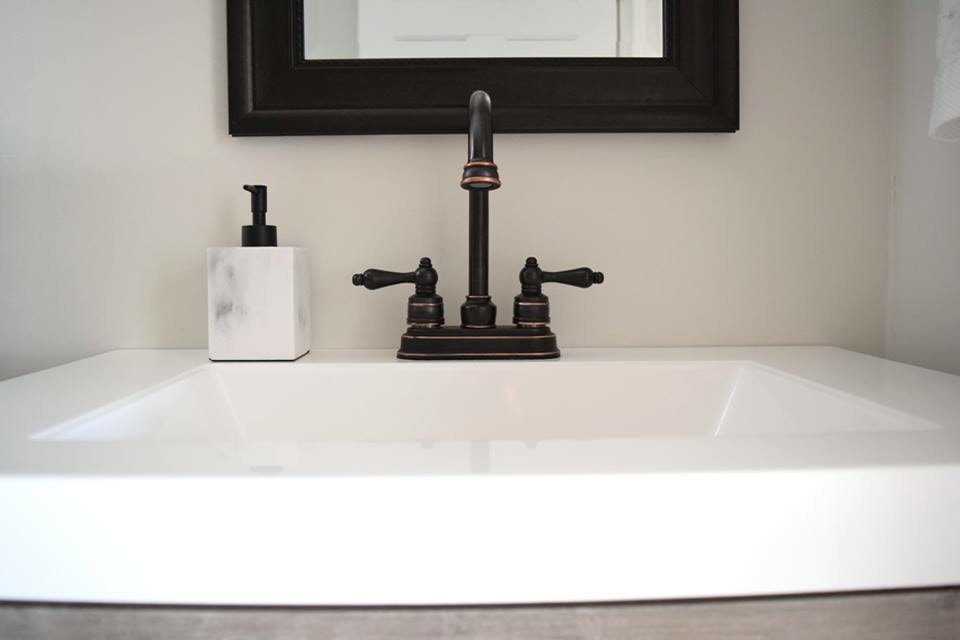
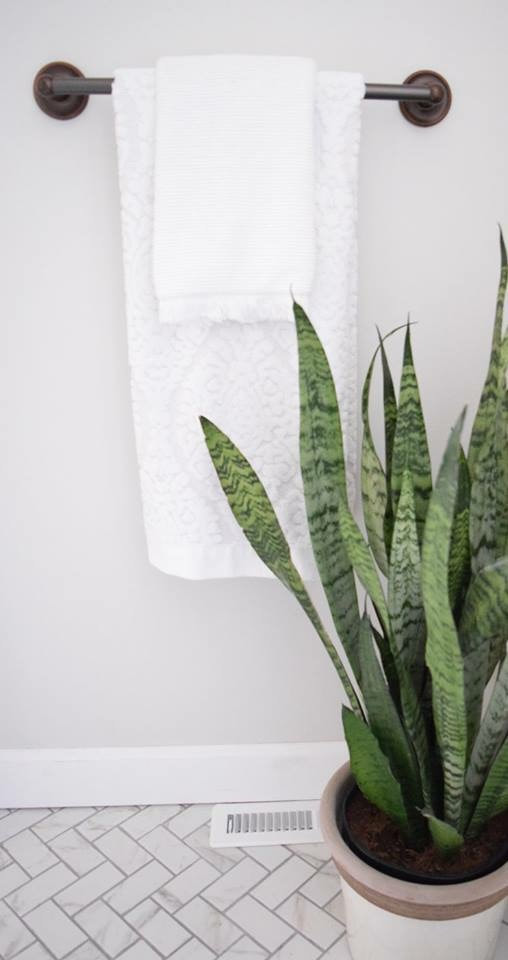
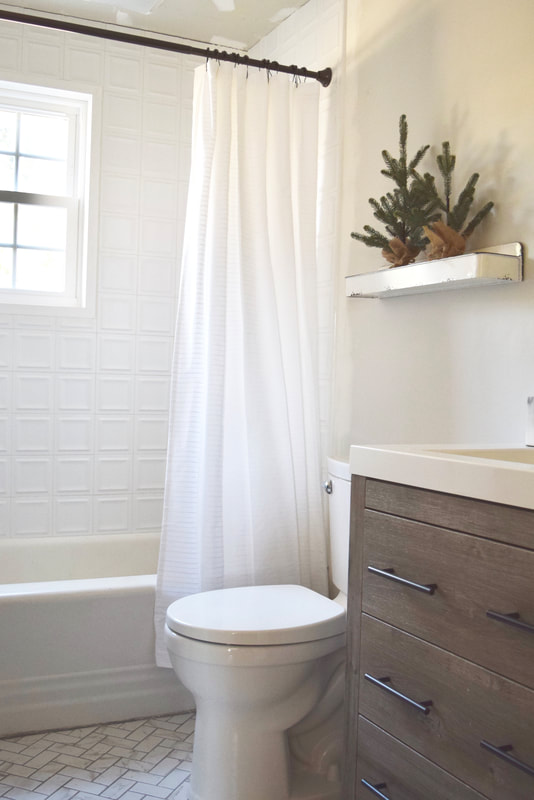
This stay-cation, I finally had the chance to chip away at my home projects. I’ve painted, tiled, grout-ed this winter break in between making wonderful holiday memories with my family. Today I’m sharing our guest bath project that is FINALLY (just about) finished. You know how it goes...there’s always some extra little thing to wrap up when it comes to renovating! Below is how this bathroom use to look when we moved in almost 10 years ago. We love this house for the little charming details throughout but from day-one this bathroom was on my demo-list. Nothing charming about about that 80’s vinyl flooring! I spruced up the room over time by painting the old cabinet and adding new hardware and decor but once our other priority projects were complete in our home, it was time to get moving on this bath project. Here are some progress photos once we finished demo. My husband and I decided to gut this room completely last year except for the tub. It’s an original tub from when the home was built in 1950 and seriously keeps in the heat like no other standard tub sold today and I just love the shape and groves in the front bib of the tub nodding to the original era. We installed flooring, vanity, toilet, and tile surround that freshen up this room. The shower tile provides a mid-century appeal keeping true to the original integrity of the home and the flooring and Ben Moore Classic Gray for the wall color keep the room feeling bright, modern, and fresh. The light colors and the tile to the ceiling help this little guest bathroom appear larger. Adding in some sweet details like the navy towels, simple white shower curtain, and rustic elements like the aged enamel shelf help bring in that farmhouse appeal. I hope you find some inspiration here at Gardenia Home Design. Remember that all home projects take time and some projects have to wait. My kitchen for instance will be in hiding from social media and blogs until future notice (hehe) but I’m happy to share my lovely bathrooms and bedrooms! No home is perfect but your home should be a lovely reflection of your and your family. Wishing you a Happy and Healthy 2019!
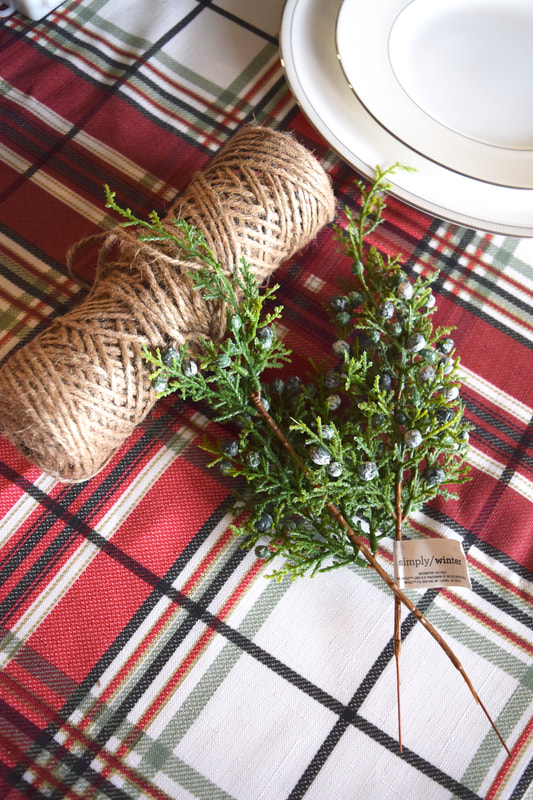
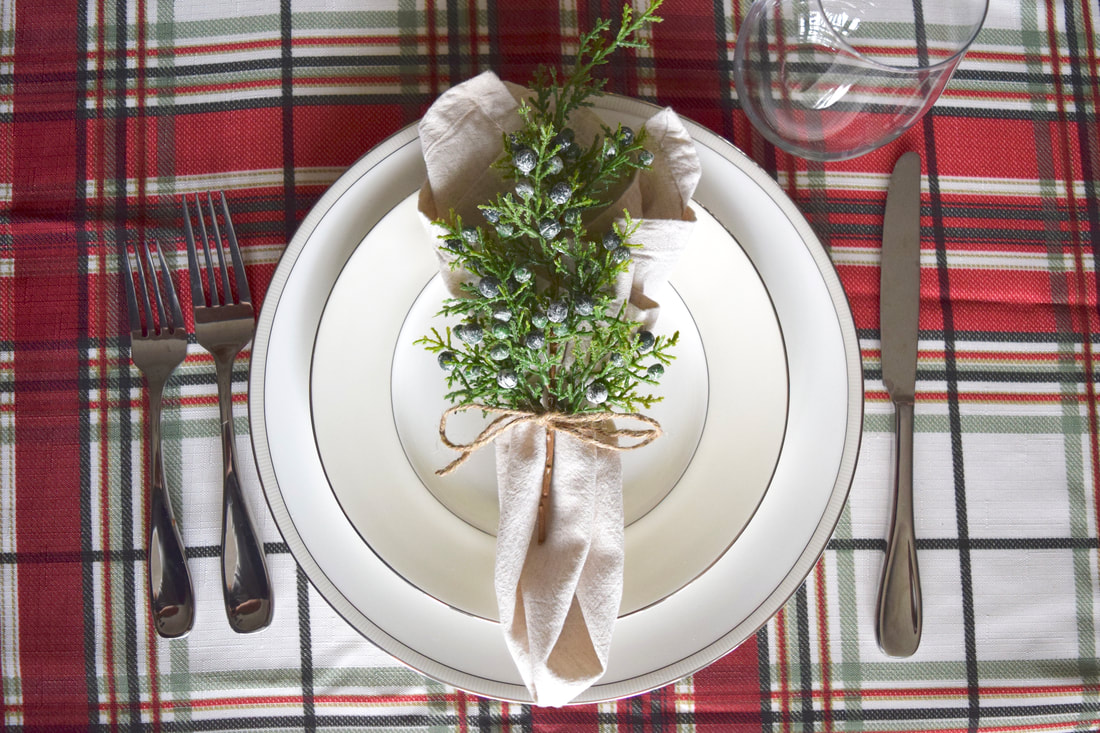
I love all things crafty but I’m a fast-crafter. Anything quick and easy I can whip up that also looks special, I’m game! When it comes to entertaining, I love adding those hand-made touches but these days most of us keep things super simple when hosting parties. The holidays provide a great excuse to get a little fancy, especially when hosting a small crowd for a sit down dinner. Maybe it’s in my blood because my mom always pulled out the cloth napkins, pretty glasses, and dinnerware every holiday when I was a kid. I’d always help stuff the wine glasses with napkins and layer the silverware. Now I continue the tradition and pull out our wedding china and “good” silverware. Though my style is a bit more rustic than my mom’s, I’m thankful she passed on a bit of the fancy gene! Here’s a super simple and easy way to add texture and life to your Christmas dinner table all while getting a tiny-bit fancy. You’ll need:
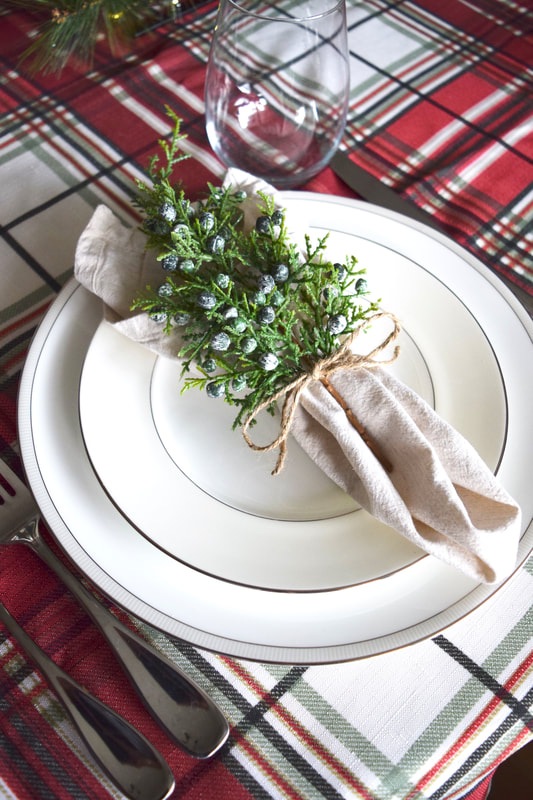
These berry sprigs cost me next to nothing @ $1 each from the craft store and I like that they’re on the larger side and full of green. I recommend having a big spool of twine like this on hand for wrapping gifts, adding tags or bows to jars, and for crafting. This stuff seems to always come in handy. Iron your napkins well to release wrinkles. Next cut a bit at the end of each stem to shorten the length and to remove any exposed wire or unfinished end. Gather your napkin by pinching the middle when flat and picking it up to gather into a simple fan. Tie the middle of the napkin with twine and tuck the stem into the tied twine. Finish the look by adding a bell or place card. I kept it simple here but you could easily add an extra touch by looping it through the twine before tying. You could use fresh cuts of greenery or berries instead, just be careful they don’t get eaten! I like to use artificial so I can use them year after year or reuse for a different project. And if you want to get REAL fancy, Martha has all your napkin folding answers here: https://www.marthastewart.com/1112146/how-to-fold-a-napkin-ways?slide=3410561 Use your china if you have it and definitely layer your plates! Even if you don’t end up using the smaller salad plate it looks so pretty stacked on top of the larger. These bone china plates are from Crate and Barrel circa 2009. Wishing you all a joyous Christmas season and a Blessed New Year. I’m so thankful for you this holiday season, I appreciate you following along! If you haven’t joined the fun yet, please subscribe on the right and join me on my ride as I share my venture in design!
|
AuthorWelcome! Archives
January 2021
Categories |
Proudly powered by Weebly



 RSS Feed